Building Our Steel Arch Garage
- Part 1 – Ordering the Kit (First Missteps)
- Part 2 – Garage Foundation
- Part 3 – Foundation Issues
- Part 4 – Assembling the Arches
- Part 5 – Raising the Arches
- Part 6 – End Wall Woes
- Part 7 – Door Installation – you are here
Door Installation
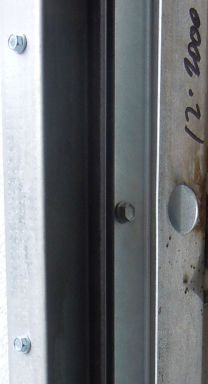
After overcoming a number of setbacks building the end walls caused partially by the manufacturer delivering wrong-sized components, partially by my having initially ordered the standard foundation and anchors but later switching over to an Industrial Base Connector design, and partially by my having foolishly accepted the recommendation of the roll-up door company’s representative to build the end walls with a narrower opening for the doors, I was finally ready for the doors to be installed.
At least that’s what I believed until the installation crew arrived with the doors. The openings were in fact too narrow to allow the doors’ vertical guide channels to be mounted. My initial response was to demand custom made narrower replacement doors from Aiken Overhead Door to replace the standard 10′ wide doors their representative had told me would fit fine in the narrower opening. The company balked at this idea, and even if they had eventually agreed to my demand, it would have been another few weeks before I could hope to receive the replacement doors and have them installed.
Then it occurred to me that I could accommodate attachment of the standard door guide rails by screwing some 18 gauge steel track to the inside of the vertical door opening stiffener posts. The door company agreed to this idea and set an appointment to return a few days later to complete the door installation.
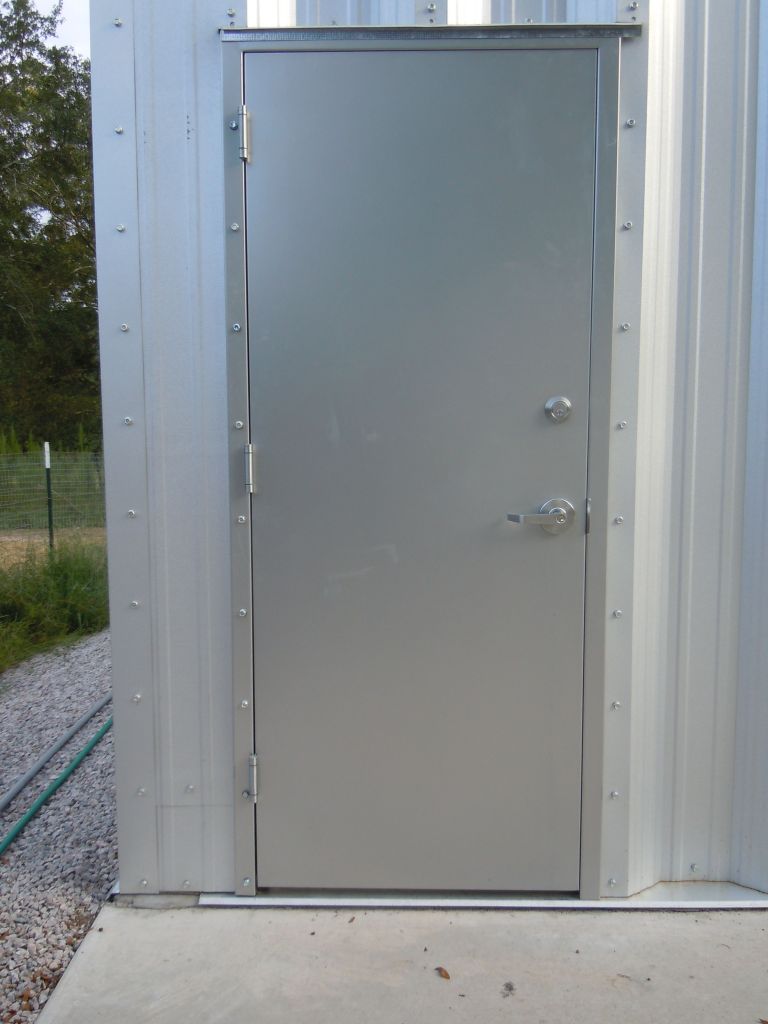
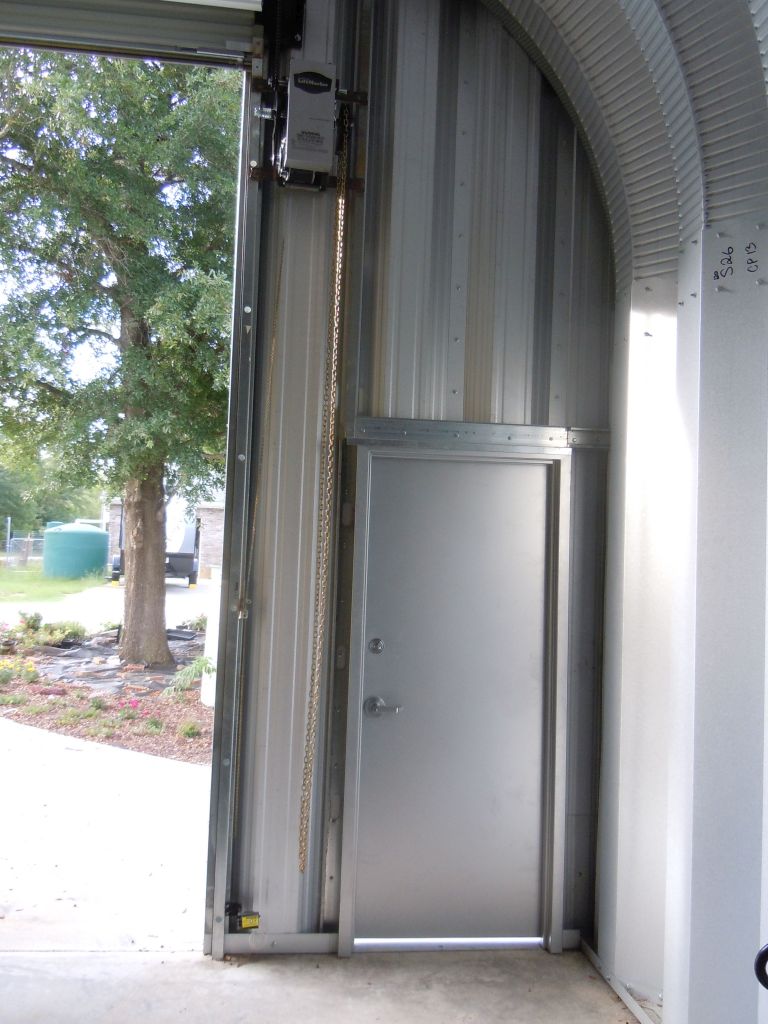
With the roll-up doors finally installed, the only step remaining was installing the walk-through door. I ordered a heavy-duty commercial steel walk-through door from my local Home Depot, and took the door over to the good folks at Mayas Metal Art in Aiken, SC for powder coating. Once the door came back from powder coating, It was a fairly straightforward job to install it using 18 gauge metal framing members, and the lintel provided by Steelmaster as shown in these photos.
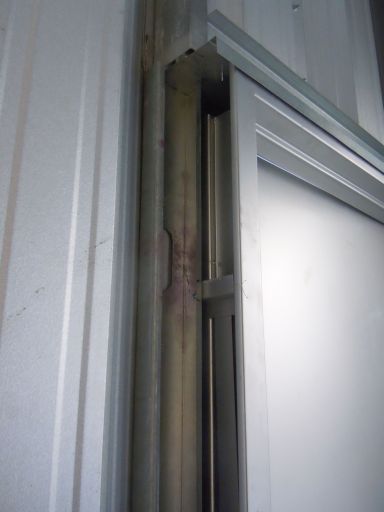
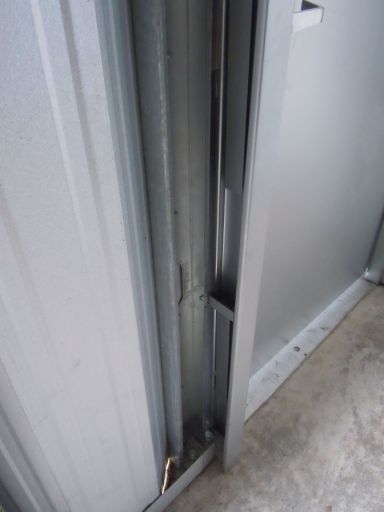
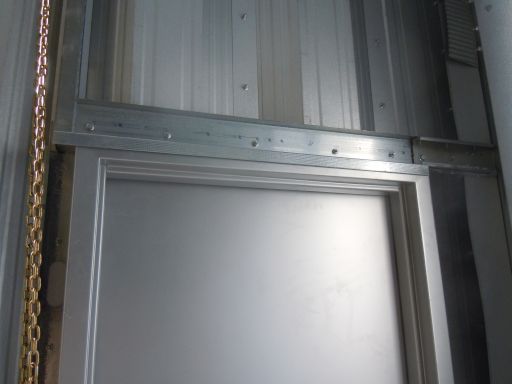
The final result doesn’t look bad at all, and the building as a whole is strong and secure.
Next Post – Building Our Steel Arch Garage Part 8 – Finishing Touches
Previous post – Building Our Steel Arch Garage Part 6 – End Wall Woes
