While we awaited the delivery of the roofing sheets, the rough-in work for the utilities was completed. The rough-in inspection couldn’t be accomplished until the house was dried in as well though, and that had to wait for the roofing. Once the rough-in was completed, I took some highly detailed, narrated video of all the wiring and plumbing that I can refer to later to remind me of exactly what is where inside the walls and ceilings. That’s essential information for us to have going forward, but I won’t share it here since it is incredibly boring – even more so than this post already is.
Plumbing
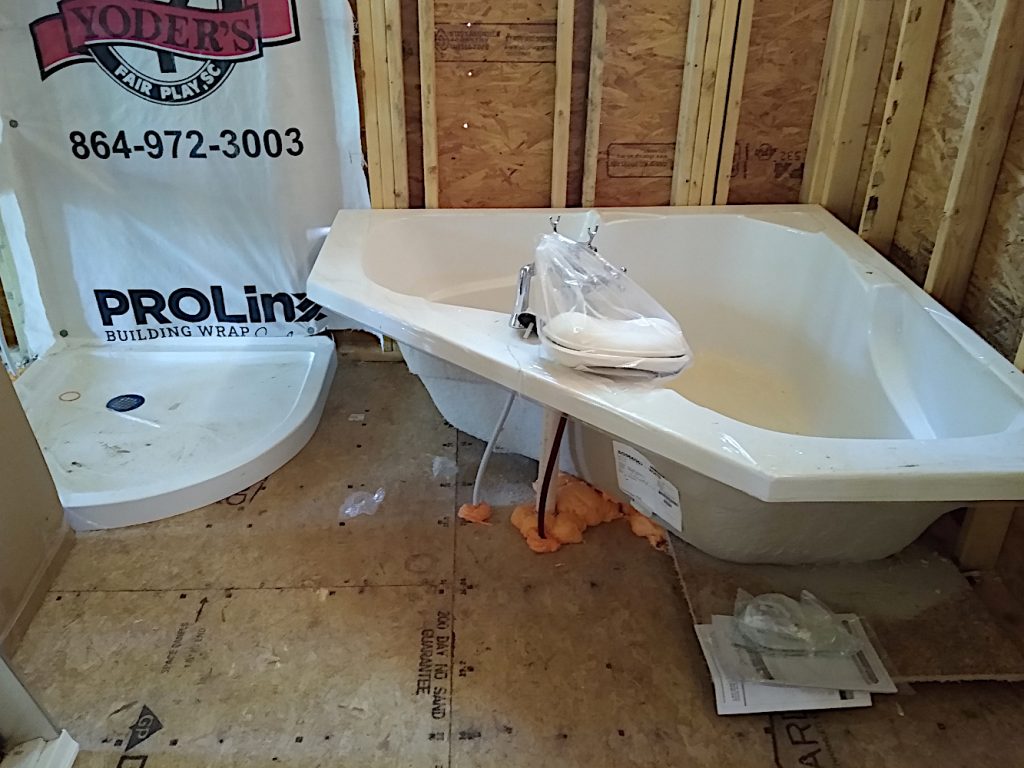
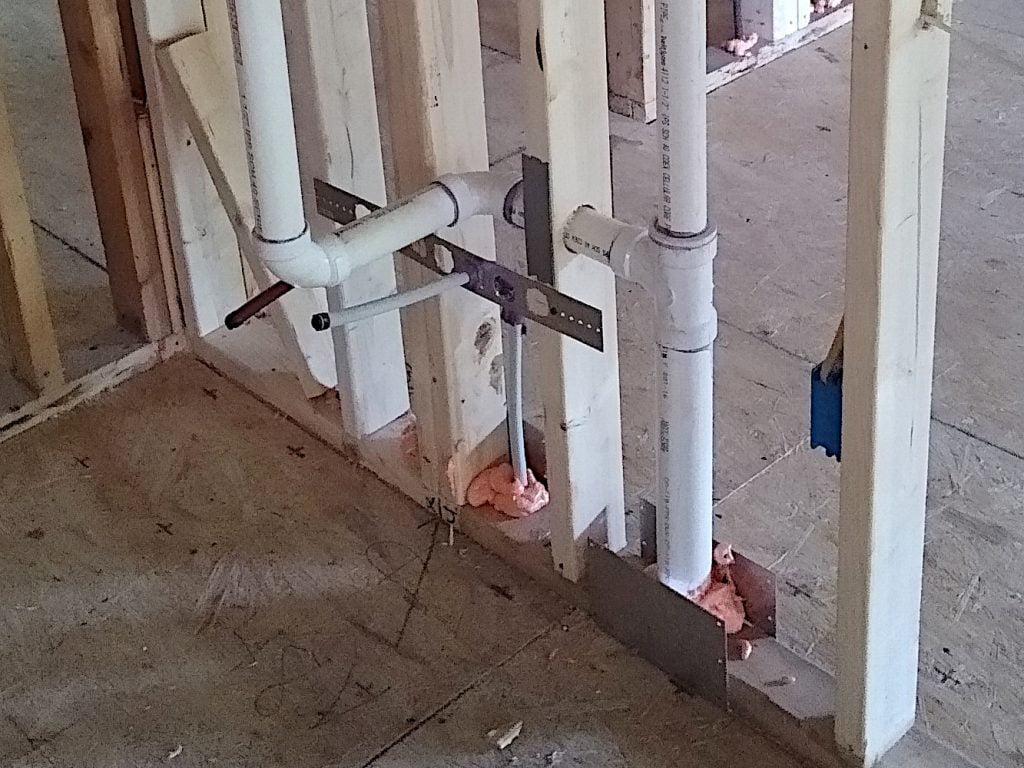
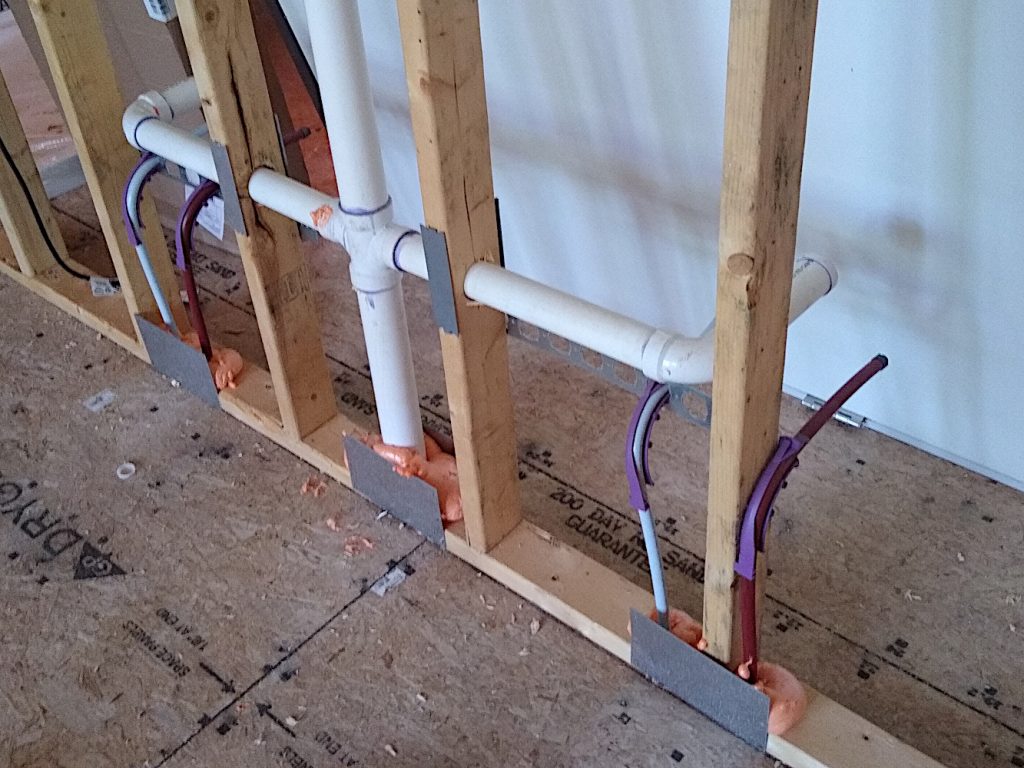
Once we had all the bathroom fixtures on site, the plumbers were finally able to get the rough-in done for them. Obviously since the cabinets are not yet installed, the kitchen and bathroom sink plumbing could only be stubbed out of the walls. The plumbing for the addition is quite a long run, and since the basement won’t be heated, we’ll need to keep a close eye on these pipes over the winter. We didn’t have any problems last winter with the laundry plumbing, but that wasn’t really completed until the worst of the winter was over. One possibility would be to put in a re-circulation pump from the hot to the cold. That would also keep the time to get hot water in the addition bathroom down, but would have the disadvantage of making the electric bill higher. We’ll just have to wait and see how it goes.


HVAC
As mentioned in our previous post, the initial plan called for a standard forced-air heat pump unit to serve the addition. I was adamant about not wanting the air handler for this unit in the ceiling. But moving it into the basement would have meant floor registers in the master suite and studio which Sue was adamant against. There would also have been an issue providing for the air return.
Instead, the HVAC sub-contractor suggested a dual-zone ductless system from Gree similar to the three Gree units we already had installed in the original house. We plan to re-use those three units in the original house. The two smaller units will be re-installed pretty much in the same locations they were in. The living room unit will be moved to the opposite wall near the front corner of the dining area.
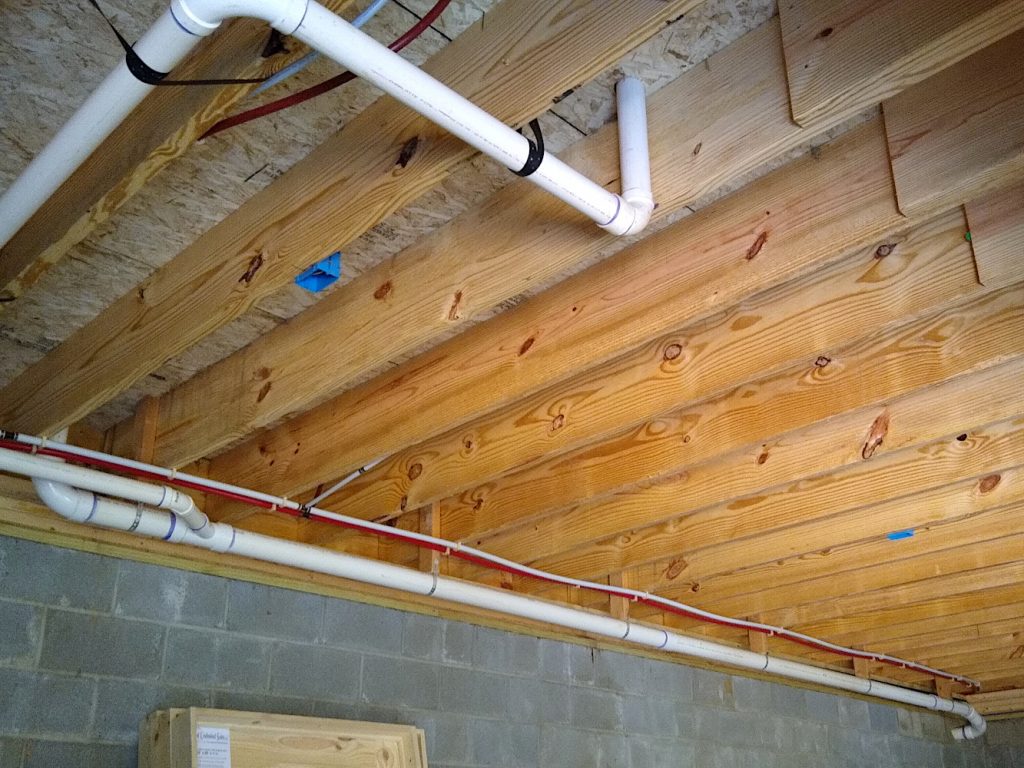
The three original units were installed with their line sets running down the outside of the wall and covered with plastic fascias. The new installation will have these original line sets running inside the walls. The living room line set goes down into the original basement. It will be routed outside once the windows on that side of the basement are blocked over.


Electrical
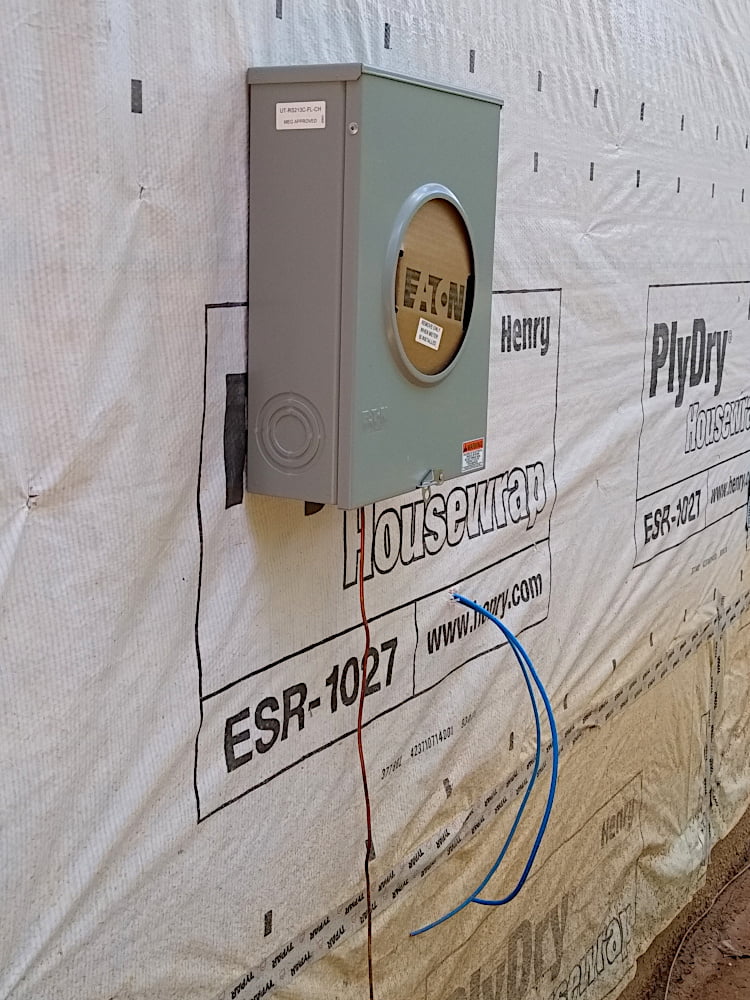
The entire house is being re-wired to bring it up to modern wiring standards. The power entry will be moved from the overhead feed at the back (driveway) end of the house to an underground feed at the front corner near the basement door just across the boat ramp driveway from the utility pole. The existing power panels will then be removed.
NOTE – The two blue wires coming out of the basement wall below the new power meter were intended to connect to the ATT DSL feed. I called ATT out to relocate their DMARC box, but they did so by running a jumper from the existing grounded and shielded buried line to the new location using direct burial unshielded CAT3 cable. I decided the performance would likely suffer, especially since the new run would be buried alongside the new electrical feed. So before the drywall was hung, I pulled these two wires back inside the basement and put the ATT DMARC back in its original location.

Media
The house will have extensive telecommunication wiring in the bedrooms, and at two locations in the living room. The center of the front wall will be the entertainment center. On the opposite wall near the guest bath will be an office area. There are two communication distribution areas – one in the hall coat closet and one in the master bedroom closet.
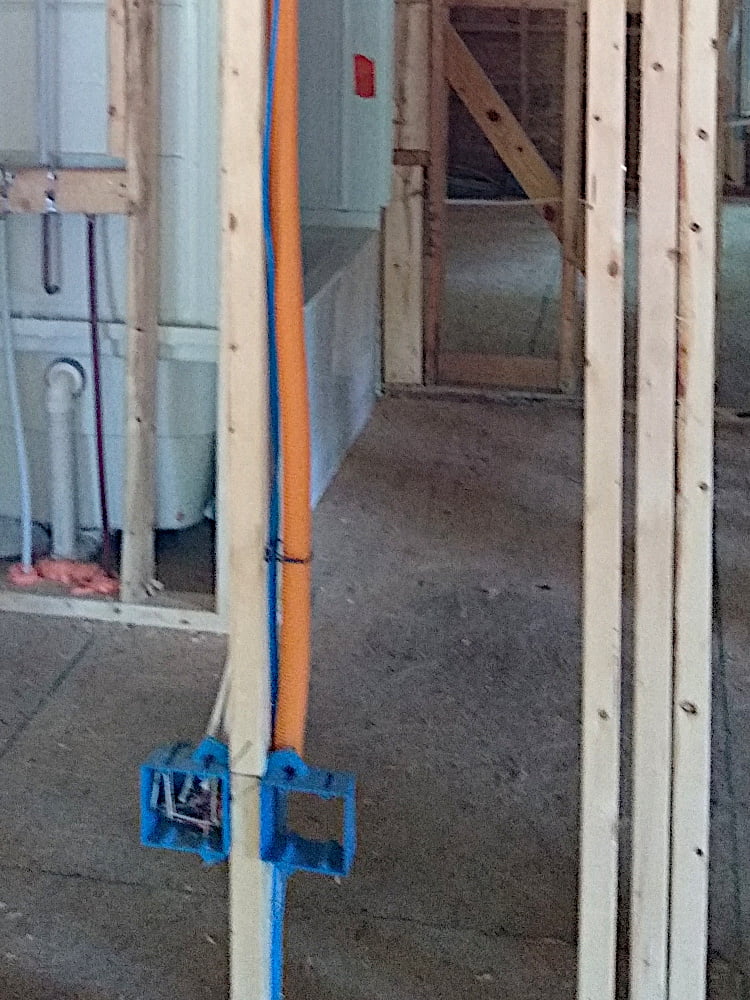
CAT6 shielded cable was pulled from the entertainment center wall into each of the bedrooms and to the office area. This will be used to distribute HDMI via CAT6.
CAT5 unshielded cable was pulled from the hall closet to each of the bedrooms, the master bedroom closet, the office area, the entertainment center, and the basement near the new power panel. This wire will be used to bring the ATT DSL into the house, and carry 1Gb/s Ethernet to WiFi repeaters anywhere in the house.
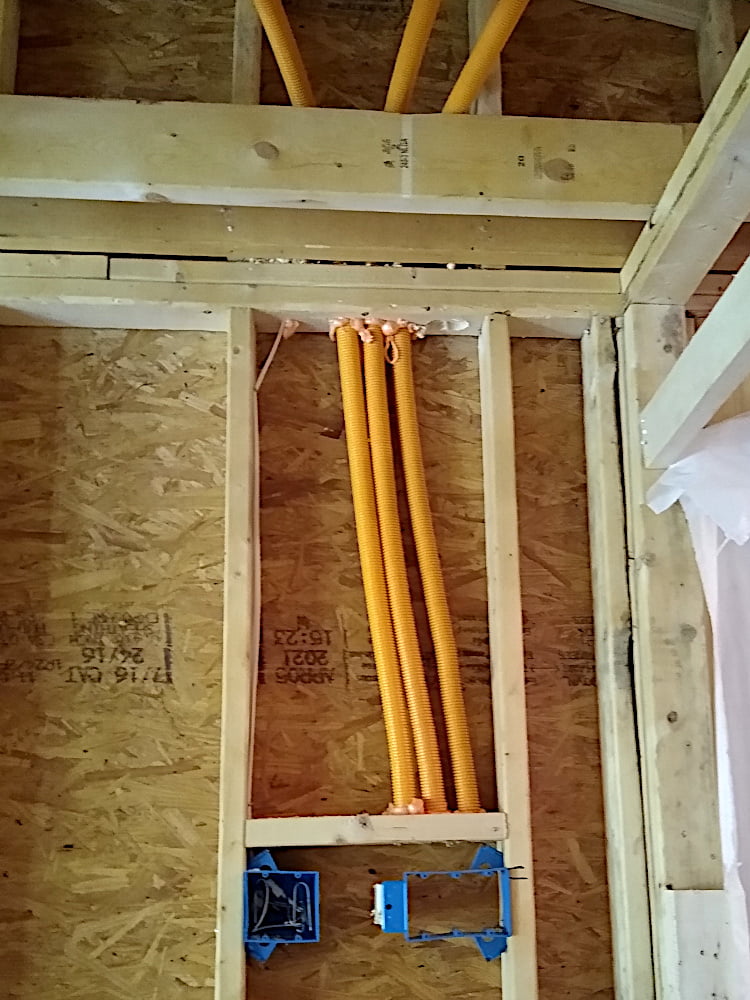
1 inch fiber conduit was pulled from the master bedroom closet to the office area, the hall closet, and the entertainment center. Dual fiber optic cables will be pulled through this conduit to connect the (loud) NAS server in the master bedroom closet to the entertainment center and the office using Etherchannel fiber optic trunks connected to (quiet) Ethernet switches in these areas.
NOTE – I neglected to have the electricians pull speaker wire into the living room vault ceiling from the entertainment center to connect the surround sound rear speakers. We will likely need to either use Bluetooth for these connections, or run pedestal-mounted surround speakers from a media distribution box in the middle of the living room floor.