As I type this update, it’s been almost two months since my last project post. The delay is partially due to business in other areas of our lives – particularly our wonderful little church. But to tell the truth I’ve been avoiding this update because of the painful memories it will invoke. In short, many weeks went by with little to no progress made on the project. This was partially due to materials delivery delays, but mostly due to unavailability of the needed labor. In the meantime, after an extended spring of mild temperatures (albeit accompanied by seemingly interminable rain), the traditional 90° temperatures with 90% humidity of a typical South Carolina summer finally set in, making any labor a sweat-drenched, wearisome torture. We also spent several weeks struggling with our builder day-by-day over an ongoing problem with roof leakage. I’ll tackle that issue first.
Roof Leak Woes
When I first laid out the addition design, one of my primary criteria was simplicity of the roof layout. My reasoning is that the simpler the roof is – i.e. the fewer breaks in the roof slope (e.g. valleys and hips), and the fewer roof penetrations – the less likely the roof will be to cause problems later on. Therefore, I had envisioned a shed roof running the width of the house on the lake side with a ridge parallel to the rear face of the chimney, and two valleys – one running down toward the back of the house from the ridge beam of the old house down to the corner where the addition mates up with the old house on the east, and the other running symmetrically down to the opposite edge of the existing roof. Unfortunately, when we made the decision to remove the chimney, it threw that whole design out of whack, and the poor roof has never quite recovered. As built, the roof will be way more complicated than I would prefer, but that’s the way the cookie crumbles.
In the meantime, the framers had to figure out how to join the existing roof with the addition roof, and that’s where the trouble really began. To be fair, the existing roof has had serious issues for quite some time. We dealt with some of these – the rotten portions of the ridge beam, the rotten framing around the chimney, and the rotten roof sheathing over the balcony and entry ramp – when we had the new metal roof installed right after we moved in. But more issues with the roof were revealed after the ceiling in the living room was removed during the demolition for this addition project.
After the chimney was removed, a new ridge beam supported by the new wall at the front of the house and the guest bedroom wall at the rear of the house was installed. The rafters for the existing house were attached to this new ridge beam and the temporary supports on both sides were removed. Where necessary, rotten roof sheathing panels were replaced with new ones.
Before any of this work could be accomplished though, the metal roof panels on the addition side of the existing house needed to be removed. This left a fair portion of the roof sheathing exposed to the elements. As a stop-gap measure, temporary covering was installed in this area. But for many weeks, a good deal of water was still coming through onto the new living room sub-floor. The leak was so bad that when Sue and I removed the old de-laminated Luan ceiling from the basement laundry room area, we got drenched by the water that had been soaked up by the living room floor insulation above it ever since the metal roof panels were removed.
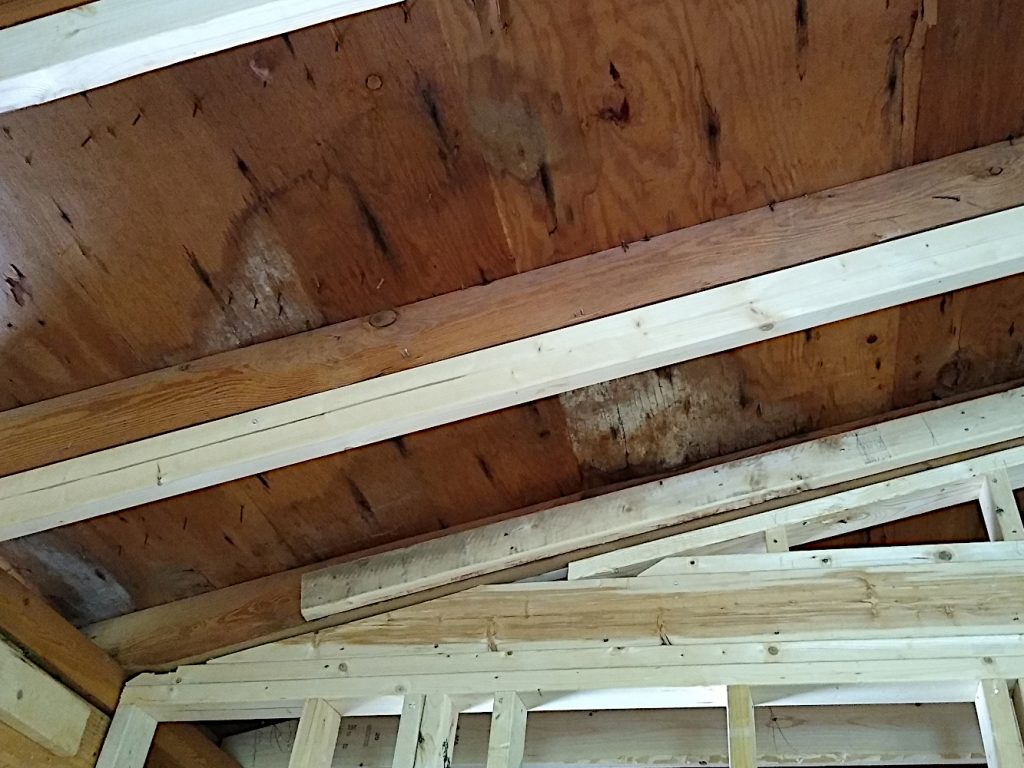
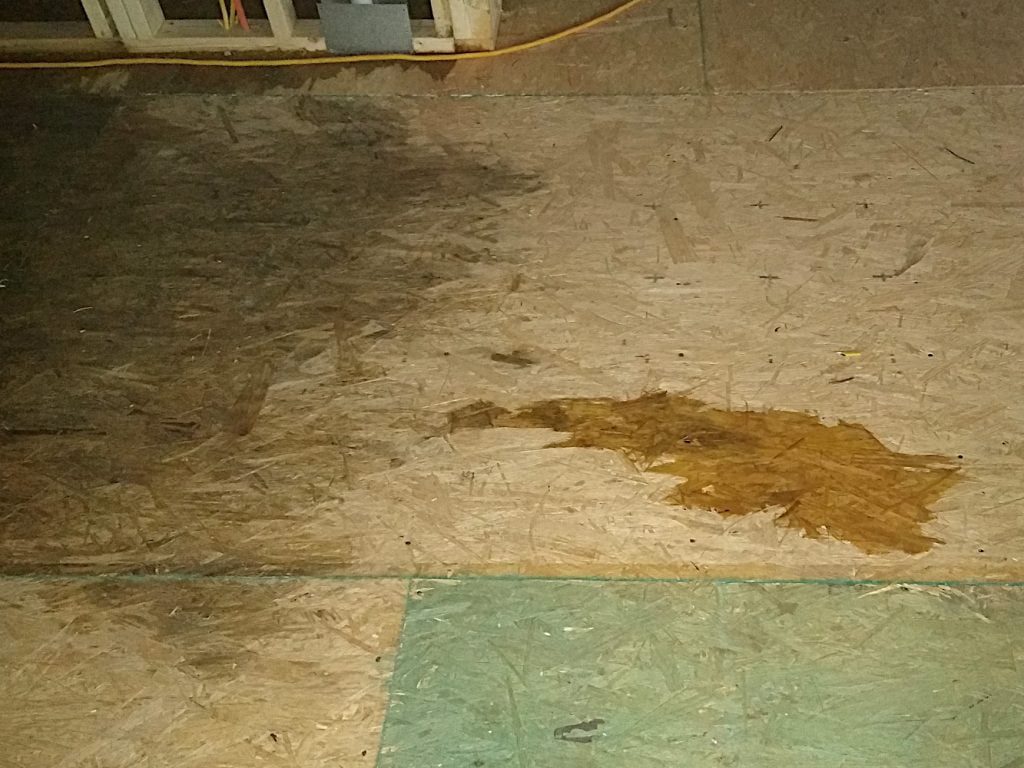
As can be seen from these photos, the problem was that the roofing felt the framers installed in the area of the new roof valley between the existing roof and the addition roof was stapled down on top of the remaining metal roof panels. So the water was coming down the metal roof and under the roofing felt, from where it then dripped through every small crack or hole in the roof sheathing onto the floor below. Furthermore, in many areas of both the existing roof and the addition roof, the framers used permeable house wrap instead of proper roofing felt, and staple hammers to tack it down instead of proper roofing nails and plastic discs. We regularly had a pool of standing water on the new living room floor and in several areas of the new addition floor. To make matters worse, all of the old plumbing vents had been cut off from below, so there were puddles under each of these openings as well.
My complaints to the builder, and his inadequate responses became more and more acrimonious as the month of July passed. These problems weren’t fully resolved until the metal roof was completed near the end of July. That was another struggle that I’ll detail in a future post. We did insist that the builder replace some of the floor panels most affected by the leaks and some of the roof sheathing most infested with fungus caused by years of neglect and lack of environmental control in the house before the new metal roof was installed.


Home Depot Delivery Issues
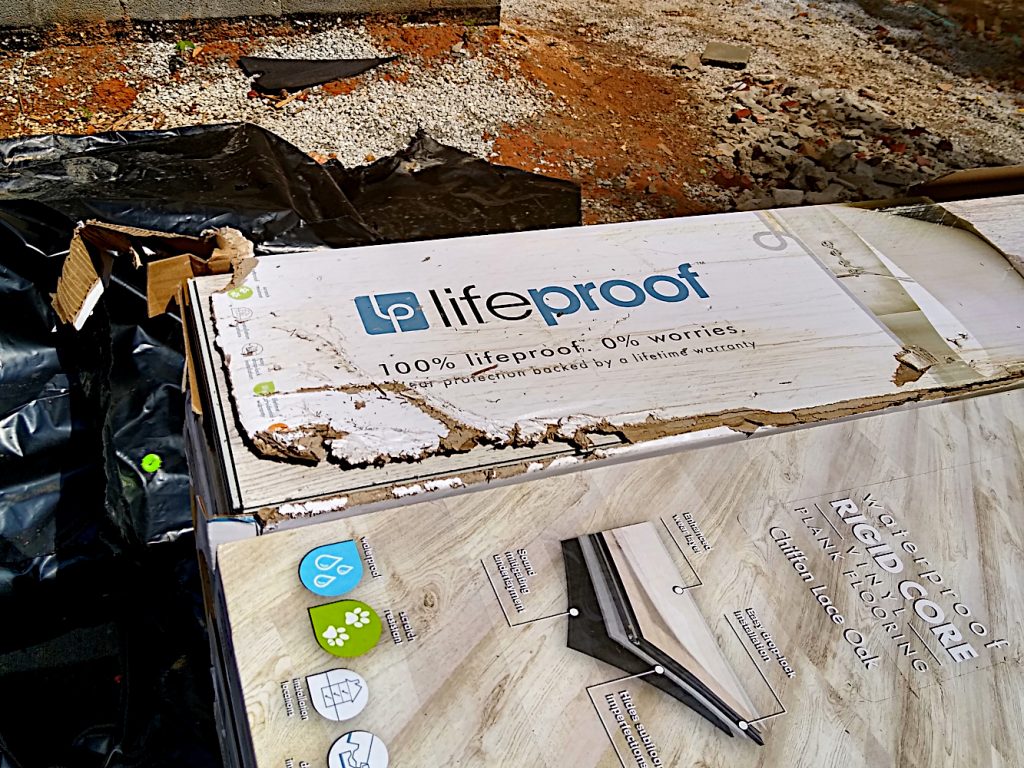
In the meantime, since I have a military discount available to me, we agreed with our builder to purchase the new laminate flooring for the house from Home Depot using my credit card. The cost of the flooring will then be deducted from the cost of the house. The flooring we wanted was in stock at our local Home Depot store, so we ordered it and arranged to have it delivered. We received the delivery on June 25th. The shipment consisted of three full pallets and one partial pallet. Unfortunately, the loaders and driver failed to ensure the partial pallet was properly secured. Rather than strapping the flooring to the pallet with bands, they wrapped it in clear polyethylene wrap, augmented with clear plastic packing tape. These measures weren’t up to the rigors of the trip up the mountain from Seneca, and 8 packs of the flooring fell off the truck in the S-curves on the way. Several of them seemed to have only cosmetic damage to the outside of the box, but rather than take a chance that some of the flooring was also damaged, we decided to return all 8 of the boxes to the store. Fortunately there were enough of our selected color and pattern still in stock to replace them.